Introduction to User Custome fields Management in MindScroll LMS
This is an easy-to-follow step-by-step guide to create and manage user custom fields using the MindScroll LMS account.
- Navigate to Manage Settings: To access and follow the given steps, login as an "Admin" or "Instructor" into your MindScroll LMS.
To access the course editor to create a course, click on Your Name with Drop-down (in the top right corner)~> Manage Settings in the left navigation menu.
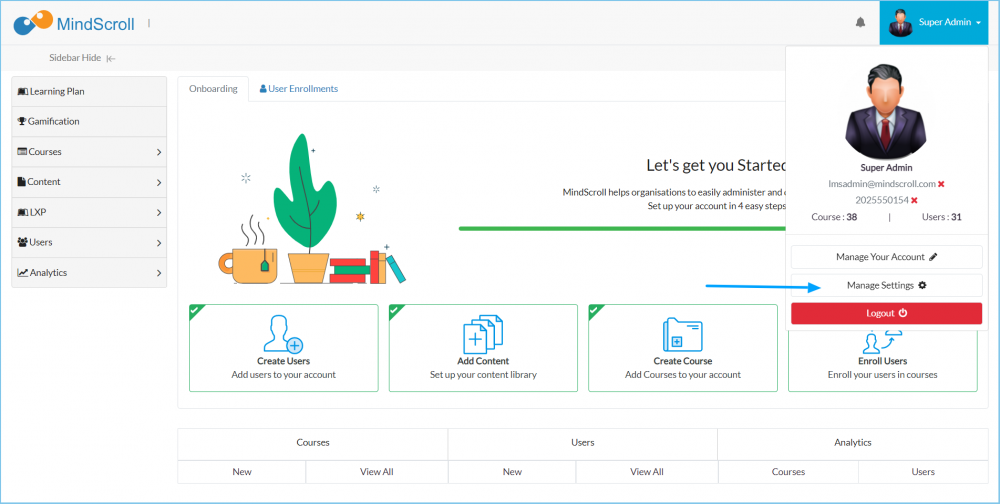
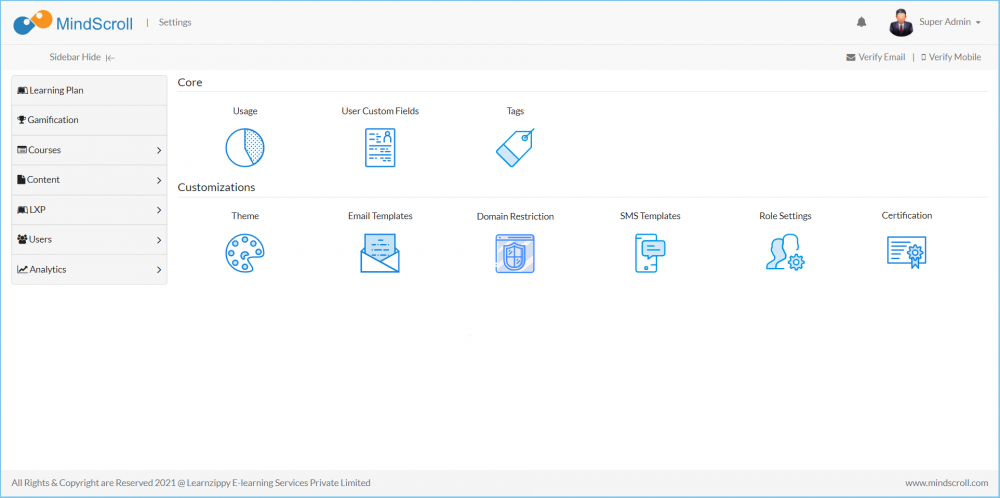
Now click on the "User Custom fields".
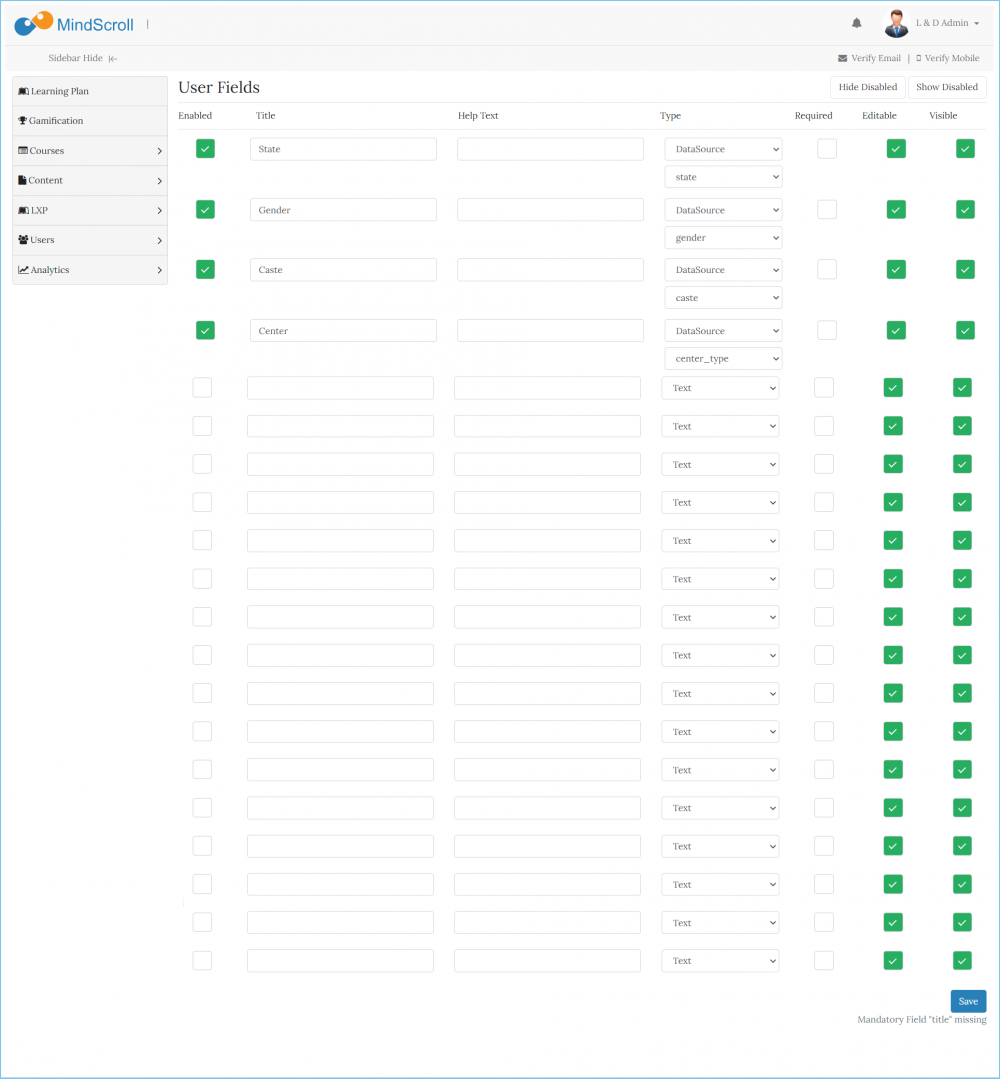
Post clicking you will be taken to the below screen where if you have already created any fields that will listed like below:
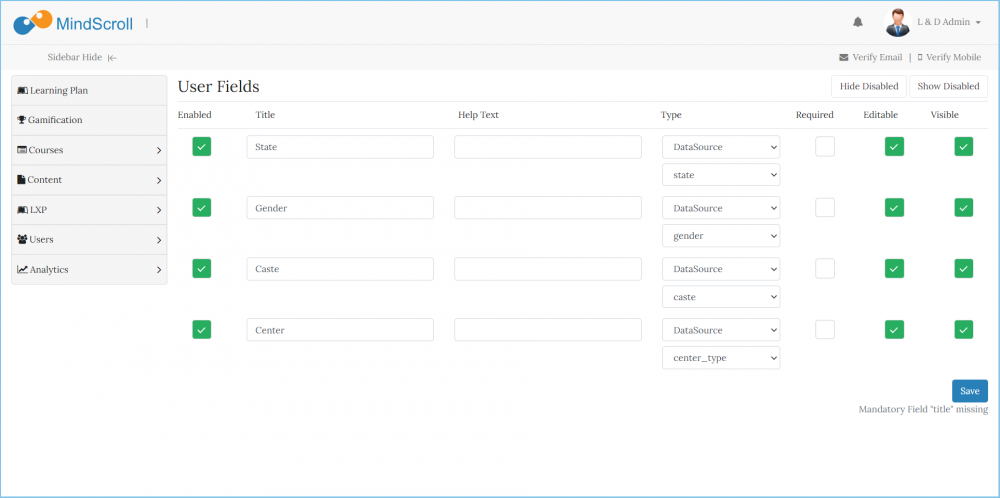
To add a field:
- Check Enabled
- Add Title and Help Text
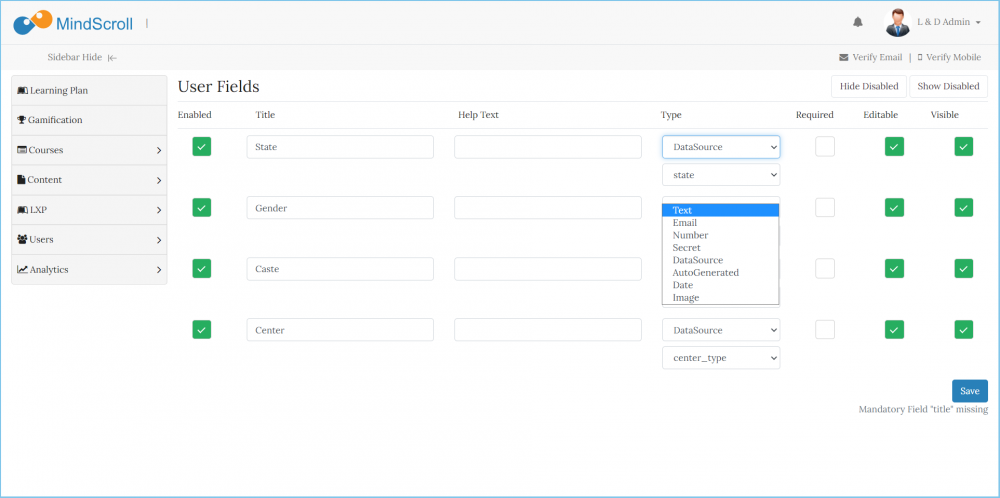
- Choose field type - Text, Email, Number, Secret, internal data source, auto-generated, data or image.
- Check Required in case the fields are mandatory
- Check Editable to make the field editable by the user
- Check Visible to make the field visible to the user
You can create different typer fo fields:
- Text: Only textual entries will be allowed, which means you can enter alphanumeric characters (letters and numbers).
- Email: This field will be verifying its entries based on the @ and dot values.
- Number: Only Numeric characters will be allowed.
- Secret: This means whatever you will enter that will be displayed as * (Star or circle).
- DataSource: This means creating a drop-down, in order to create or update reach out to the support team.
- AutoGenerated: This means you will get a random alphanumeric generator.
- Date: you will be able to enter the date values.
- Image: you will be able to upload the image in the field.
By Clicking on the Show Disabled, you will be able to see those fields that haven't been used.
Please Note: To know more about User Management, please refer to other respective documentation present in the category.
Administrator, Administrator Feature, Custom Fields, Custom User Data, User Management


